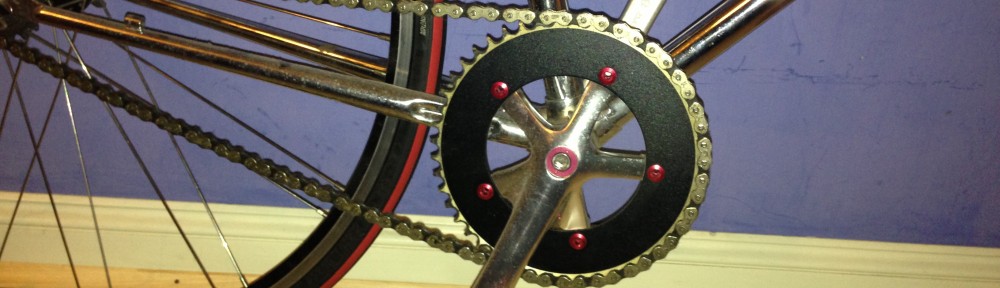
I bought the wheels for my Singlespeed project on eBay primarily because they were cheap and came with fantastic Suntour Superbe Pro hubs. I am now rebuilding these hubs into new clincher rims. But first I need to replace the rear wheel bearings as one is a little bit gritty.
The Suntour Superbe Pro was reputedly the first mass production high grade hub to be fitted with “off the shelf” sealed cartridge bearings. This makes them first of all very long lasting and secondly very serviceable. There was a bit of discussion on a web forum I saw a while ago which suggested that the bearings fitted were a slight variant from the standard of that type and that some work would be required to make the generic replacement fit. Well that doesn’t seem to be the case unless it’s already been done on mine which I doubt.
The bearings fitted were IKS 6001RV. Good quality Japanese made bearings. I highly suspect they are original. I looked the 6001 up on t’Interweb and found the FAG equivalent bearings at a decent price at Gap Bearings. If FAG can make bearings good enough for Volkswagens and railway locomotives, they can make them good enough for my bike.
I wasn’t 100% sure I had the right bearings but it was only a few quid. When they turned up I visually compared them and the certainly looked correct. The next hurdle was to remove the old bearings. I’ve done this on cars and it’s simple enough, you either get a puller to fit and pull them out, or you knock them through from the other side. A puller would have to be small and I don’t have one that size. So knocking them through seemed to be the best plan. Unfortunately the hole through the middle of the hub is only just bigger than the axle so it’s hard to get anything bigger through, and also it’s hard to get any angle on it which means you can’t get any purchase behind the bearing to knock it out.
I tried with a longish engineering bolt I had but it kept popping out, it was too springy when hit. I didn’t have a lot of luck so began to think about maybe tackling that another time and just riding it with the gritty bearing, after all it wasn’t too bad (yet).

Specialist bearing removal tools
Yesterday I was tinkering with one of my other bikes and I pulled out my old toolkit from the shed which I keep as a spare set. It’s full of crap from 30-odd years of tinkering with stuff and when looking for a small washer in the junk at the bottom I pulled out an old pushrod. I’m pretty sure it’s from a 1970’s triumph 2500 motor as I used to have a few of these. It is thin, high grade steel with a lovely hardened machined end with a distinct hard ridge. It looked promising.
Just in case that didn’t work I also found an old 7″ galvanised steel nail (more like a spike) which was a type we used to use at my grandmother’s farm for attaching gate brackets onto green timber posts. The head on this looked a possibility but being rounded would have to be ground flat first.

Punching out the bearing
I tried the pushrod first. I had to cut the rounded (tappet) end off it so I could fed the thin part of the shaft through the hub. The rocker end has the flat surface I described and it just fitted through the bearing centre and neatly tucked behind it on the drive side of the hub. This was the gritty bearing so the one that most had to come out. A couple of whacks with my big hammer over some blocks of wood and it was out. Easy peasy.
Now for the other side. The pushrod didn’t fit as there wasn’t enough space behind the bearing for the rather deep head to drop into. So I ground down the head of the 7″ spike to get it near flat and then fed it through. The grip wasn’t as good as the pushrod on the other side but it seemed firm enough. So I gave it a firm hit (as Sheldon once quoted “If brute force doesn’t work, you’re not using enough!”) and it moved. a second hit and it was out.

Out with the old, in with the new...
Great, both sides clear. I wiped the hub down and it was in perfect order. I compared old and new bearings and they were identically sized.

New bearing ready to fit
Putting bearings in is about 10 x easier than taking them out. A block of wood under the hub, the bearing positioned in place, a block of wood on top and a firm hammer hit and in it went. The first knock put it in slightly crooked so I knocked it straight with the second. Once it was flush with the top of the hub I sat the old bearing on top to use it as a drift, put the wood on top of that and knocked it home, a few mm below the surface.
Repeat on other side, wipe it down, fit the axle, job done.
It’s a testament to the quality of the design and finish of the Superbe Pro hubs that the new bearings were so easy to fit.

Knocking the bearing in
As part of the manufacturing process Suntour thoughtfully machined a recess into the top of the bearing housing just fractionally larger than the housing proper. This allows the new bearing to drop into it’s intended location about 3mm or so which means that hitting it the rest of the way home is much more trouble free as it’s definitely in the correct position. So many bearing housings do not have this feature and as a result it is possible to damage the bearings or the housing by being careless or unlucky.

Using old bearing as a drift
If you think about it, it’s an unusual manufacturer that thinks about a maintenance job that is probably a decade away in most cases. With an eye on cost, and a focus on selling new stuff, no sensible company would deliberately add cost to their manufacturing process just to make maintenance down the line easier. In fact they have a disincentive to do so as fixing old stuff might hurt new sales. But Suntour were notoriously poor at marketing and good at engineering. In the end it was their downfall. Where Shimano has a policy of charging what the market will bear for admittedly very good kit, Suntour preferred to sell on a cost plus basis. This often positioned their kit as cheaper than Shimano in the marketplace, which ironically led to it being considered “not as good” as Shimano. In some cases that may have been justified but for their high end stuff they were as good as anyone in the market, and sometimes better.

New bearing correctly seated into housing
Next: disassemble the old wheel and rebuild it with new spokes and rim.


